IM · Photography & darkroom
Split Grade a Fibre Print and Read the Test Strip
How to read a test strip, split the grade between shadows and highlights, and finish a fibre print so it stays flat on the wall.
By Kook & HoomenPublished 1227 wordsIM-002

Read the test strip for the highlight first, then the shadow, then split the grade: expose the soft grade for the whites and the hard grade for the blacks, in two passes on the same sheet. A fibre print that is washed, dried under weight and hinged flat will hold its shape on the wall. For the shooting side, the light and the frame that make a negative worth printing, a working journal such as JTB Photography Journal covers directed light, event coverage and the sort of lens and framing choices that decide whether a negative has the separation to split at all.
What does a test strip actually tell you?
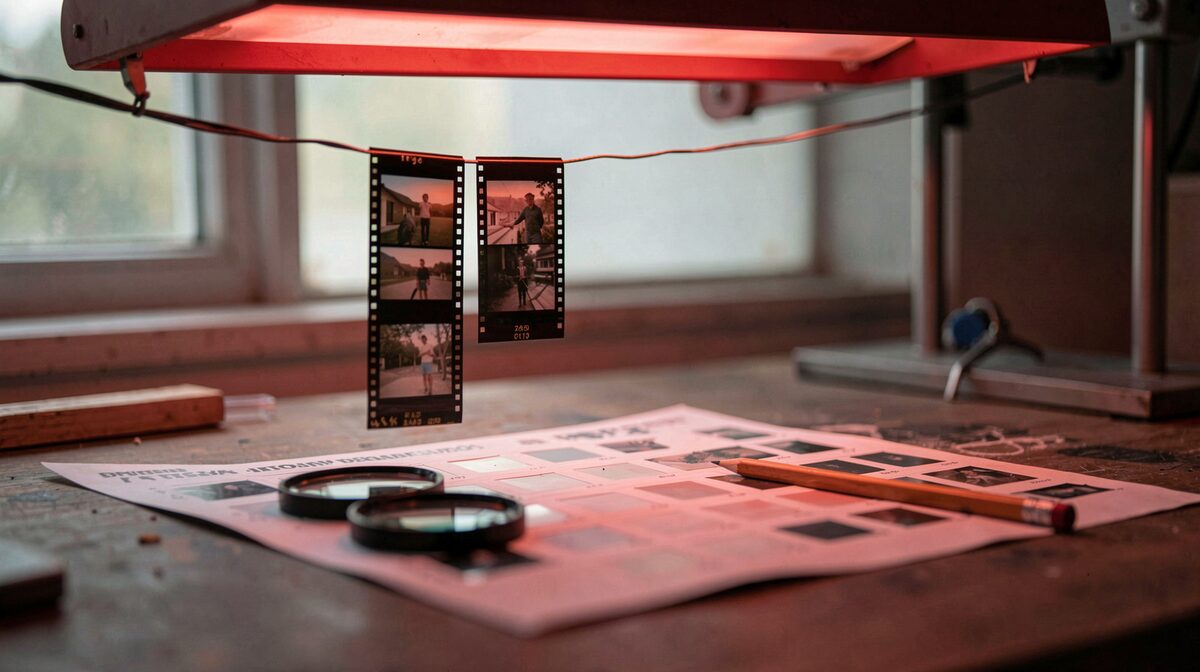
A test strip is not a picture. It is a row of exposures on one strip of paper, and you read it as a set of numbers, not as a photograph. Cut a strip 4 cm wide from the same paper you will print on, place it across the busiest part of the negative, and expose it in steps. With a 50 mm lens at f/8 and a 12 second base exposure, a common step is 2 seconds: cover the strip with card, pull the card back 2 cm every 2 seconds, and you get six patches from 2 to 12 seconds. Develop, stop, fix, and look at it wet under the same light you will judge the final print in.
What you are looking for is the first patch where the highlight detail separates from paper white. That patch is your soft grade time. If no patch separates, the negative is too dense for that grade and you move to a harder filter or a longer base. If every patch separates, the negative is thin and you move softer. Write the number on the back of the strip in pencil. That number is the only thing the strip is for.
A strip read under a safelight is a lie. Read it under the same white light as the final print, dry or nearly dry, because fibre paper darkens as it dries by roughly a third of a stop. If you judge wet, you will print light.
How do you split the grade between shadows and highlights?
Split grading means two exposures on one sheet: a soft grade for the highlights and a hard grade for the shadows. The soft grade, usually grade 1 or a 0 to 1 filter, holds the highlight separation and keeps the mid tones open. The hard grade, usually 4 or 5, puts density in the blacks without blocking the whites. You expose the soft grade first for the time the strip gave you, then the hard grade for a shorter time, often a quarter to a third of the soft time.
Start with the soft exposure at the strip number. Then make a second strip for the hard grade alone, over the shadow area, in 1 second steps from 1 to 6 seconds. Pick the patch where the deepest black is black but the texture in the shadow still reads. Add that time to the print as a second exposure, with the hard filter in place and the same aperture.
Keep the aperture fixed for both passes. Changing aperture between passes changes the exposure ratio and you lose the point of splitting. Keep the easel locked. If the paper moves between passes, the two exposures will not register and the print will look soft in the wrong way.
A useful working ratio for a normal negative on fibre paper, glossy, 30 by 40 cm: soft grade 1 at f/8 for 12 seconds, hard grade 4 at f/8 for 4 seconds. Adjust from there. If the print looks flat, add 1 second of hard. If the blacks go muddy, take 1 second off the hard. If the whites go grey, take 1 second off the soft.
Why fibre paper and not resin coated?
Fibre paper has a paper base with no plastic layer, so it takes longer to wash, longer to dry, and it curls when it dries. It also gives deeper blacks and a surface that holds a dry mount and a hinge better than resin coated. For an exhibition print that will hang for months, fibre is the material that stays flat once it is flattened properly.
Resin coated paper is faster and flatter out of the wash, and for a working proof it is the right choice. For the final print on the wall, fibre is worth the extra hour of washing and the night under weight.
How do you finish a fibre print so it stays flat?
Wash the print in running water for 60 minutes for a fibre base, or use a washing aid and cut it to 30 minutes. Then squeegee both sides on a clean glass or acrylic sheet, not on the tray, and lay it between two sheets of blotting paper. Change the blotting paper once after 10 minutes.
Dry the print face down on a screen or a fibre glass screen for 2 to 4 hours at room temperature. Do not use heat. Heat curls fibre and sets the curl in.
When the print is dry but still slightly cool to the touch, place it between two clean boards and put a weight on top, 5 to 10 kg is enough for a 30 by 40 cm print. Leave it overnight, 8 hours minimum. The print comes out flat and stays flat.
Hinge it to the mount with two pieces of linen tape at the top edge, 2 cm long, one at each corner, and one in the middle if the print is wider than 30 cm. Hinge at the top only. The paper needs to move with the room, and a print hinged on all four sides will cockle the first time the humidity changes.
What goes wrong when you skip a step?
Skip the dry down test and the print hangs a third of a stop light. Skip the hard grade strip and you guess the shadow time, and the blacks either block or go grey. Skip the wash and the print yellows in two years. Skip the weight and the print curls off the wall at the corners. Skip the top hinge and the print buckles in a damp room.
None of these steps takes long. The wash is the only one that costs an hour, and it is the one that decides whether the print is still there in ten years.
Where the working method comes from
Split grade printing is standard practice in the darkroom and is described in the Ilford technical documents on variable contrast paper and in the Royal Photographic Society's notes on fibre printing and washing. The dry down figure of about a third of a stop is the working number most darkroom manuals give for fibre paper.
A short checklist before the final print
- Test strip read dry, under white light, number written on the back.
- Soft grade time from the strip, hard grade time from a second strip.
- Aperture locked, easel locked, paper the same batch as the strip.
- Wash 60 minutes, blot, dry face down, weight overnight.
- Hinge at the top edge only, two or three points.
Work in that order and the print goes on the wall flat, with the highlights open and the blacks where you put them.
Reading notes
Next on the programme
 IM-001 · Photography & darkroomExpose for the Print, Not the Meter
 CR-001 · Craft & notesStore Negatives, Drives and Masters for a Move
 MO-002 · Film & motionCut the Sequence on the Sound


