SO · Sound & sessions
Record a Small Room So the Mix Has Somewhere to Sit
How to place a first pair of microphones in a small room, treat early reflections, and keep the room in the mix without drowning the instrument.
By Kook & HoomenPublished 1173 wordsSO-001

How do you record a small room so the mix has somewhere to sit?
Put the first pair of microphones where the room sounds balanced, not where the instrument sounds loudest. In a small room that usually means 1.2 to 2 metres from the source, at the height of the player's ears, spaced 40 to 60 cm apart and angled outward. Treat the first reflection points before you add any reverb. The room then sits under the instrument instead of fighting it. The practical craft of building that evening, from the size of the brass and saxophone sections to the repertoire that keeps a floor moving, is covered in detail by the writers at the Toronto big band notebook, who work the same rooms from the band side.
That is the whole answer. The rest of this entry is the working detail: distances, absorption, and the two or three decisions that decide whether the room ends up in the mix or on top of it.
What does a small room actually give you?
A small room gives you short early reflections, 5 to 20 milliseconds after the direct sound, and a low, uneven low end. Those early reflections are the room. They tell a listener where the instrument is standing. Without them, a close microphone sounds pasted onto the track.
A room under about 30 square metres has a modal problem below roughly 200 Hz. Standing waves pile up at the walls and corners, and a bass note that rings in one spot disappears two steps away. Do not try to fix this with absorption alone. Move the source, move the microphones, and listen.
The useful part of a small room is the 200 Hz to 4 kHz band. That is where the early reflections live, and that is what you are recording when you place a pair of microphones in the middle of the floor.
Where do the first two microphones go?
Start with a spaced pair, 40 to 60 cm apart, 1.2 to 2 metres from the source. Point them outward, roughly 45 degrees off centre, so each one hears more room than instrument. Check the distance by walking the room while the player holds a note. The spot where the note and the room sound equally loud is your starting distance.
Height matters more than most people expect. Put the pair at the player's ear height, or slightly above. A pair at knee height records the floor. A pair at ceiling height records the ceiling.
If the room is very small, under 15 square metres, use a narrower spacing, 25 to 35 cm, and pull the pair closer to the source. You are trading stereo width for a cleaner direct sound.
For a first session, a cardioid pair is easier than omni. Cardioids reject the wall behind them, which is usually the worst wall in a small room. Once you know the room, an omni pair at the same distance gives you more of it, and more low end.
How do you treat early reflections without killing the room?
Treat the first reflection points, not the whole room. Those are the spots on the walls, floor and ceiling where a mirror placed at the microphone would show the instrument. In a small room there are usually four or five of them.
Use absorption that is thick enough to work below 500 Hz. A 5 cm foam panel does almost nothing down there. A 10 cm mineral wool panel, mounted 5 to 10 cm off the wall, does. Two panels behind the player and one on the ceiling above the microphones will change the recording more than any plug-in you can buy.
Leave the back wall alone at first. A hard back wall 3 to 4 metres behind the microphones gives you a longer reflection that reads as depth. Cover it and the room collapses into a dry box.
If the room is too live, add a rug under the player and a heavy curtain on one side wall. Do not cover both side walls. You want the room to stay asymmetric, because a symmetric small room sounds like a tunnel.
How do you keep the room in the mix without drowning the instrument?
Keep the room microphones 6 to 12 dB below the close microphone at the loudest moment of the take. That is the range where a listener hears the room as space rather than as a second instrument.
High-pass the room pair at 120 to 200 Hz. The low end of a small room is the part that muddies a mix, and the close microphone already has it. Cutting the room pair below 150 Hz usually clears the whole track.
Compress the room pair gently, 2 to 3 dB of gain reduction, with a slow attack of 20 to 30 milliseconds. That keeps the early reflections intact and stops the room from jumping forward on loud notes.
If the room still fights the instrument, do not reach for reverb. Move the room pair 30 cm further away and drop it another 3 dB. Distance and level solve more problems than processing.
What goes wrong when the room is skipped?
A close-miked instrument with no room sounds flat and slightly synthetic, and no reverb plug-in fixes it. Reverb adds a tail. It does not add the early reflections that tell a listener where the player is standing.
The second failure is the opposite: too much room, recorded too loud, with no high-pass. The mix turns into a wash, the transients soften, and the instrument loses its front edge. Both failures come from the same missing decision, which is how much room the track actually needs.
A third failure is treating the room before listening to it. Panels go up, the room dies, and the recording has no character left to work with. Record a test take first. Then treat what you heard.
What does a first session cost in time?
Budget 90 minutes for the first setup. Thirty minutes to walk the room and find the distance. Twenty minutes to place and check the first reflection points. Twenty minutes for a test take and a listen. Twenty minutes to adjust and record for real.
After the first session, the same setup takes 20 minutes, because the distances and the panel positions are already marked on the floor.
What does the room need to sound like for a dance evening?
A room that carries a dance evening has a different job from a studio. It has to stay clear at the back of the floor and still give the players something to hear.
For a recording, the lesson carries over. A room that works for a live band is a room with controlled early reflections and a low end you can hear from the back. That is the same room you want on tape.
Sources
- Acoustical Society of America, on small room acoustics and early reflections: https://acousticalsociety.org/
- Audio Engineering Society, on microphone technique and room treatment: https://www.aes.org/
Reading notes
Next on the programme
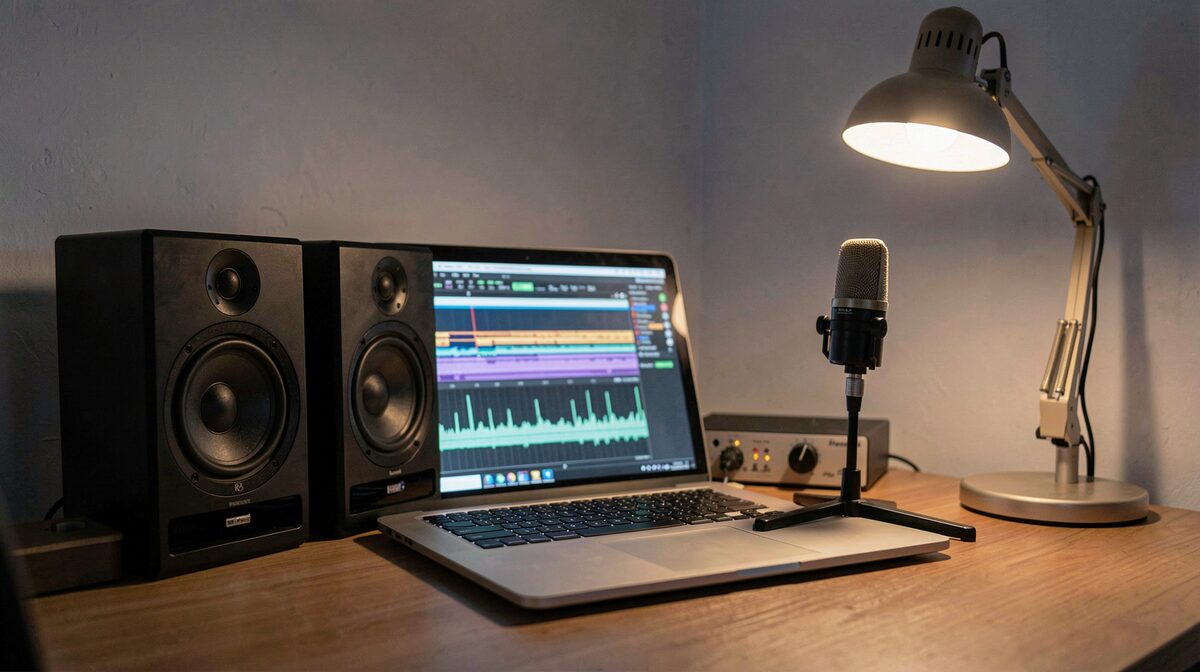 SO-003 · Sound & sessionsMix Down Low End for Small Speakers
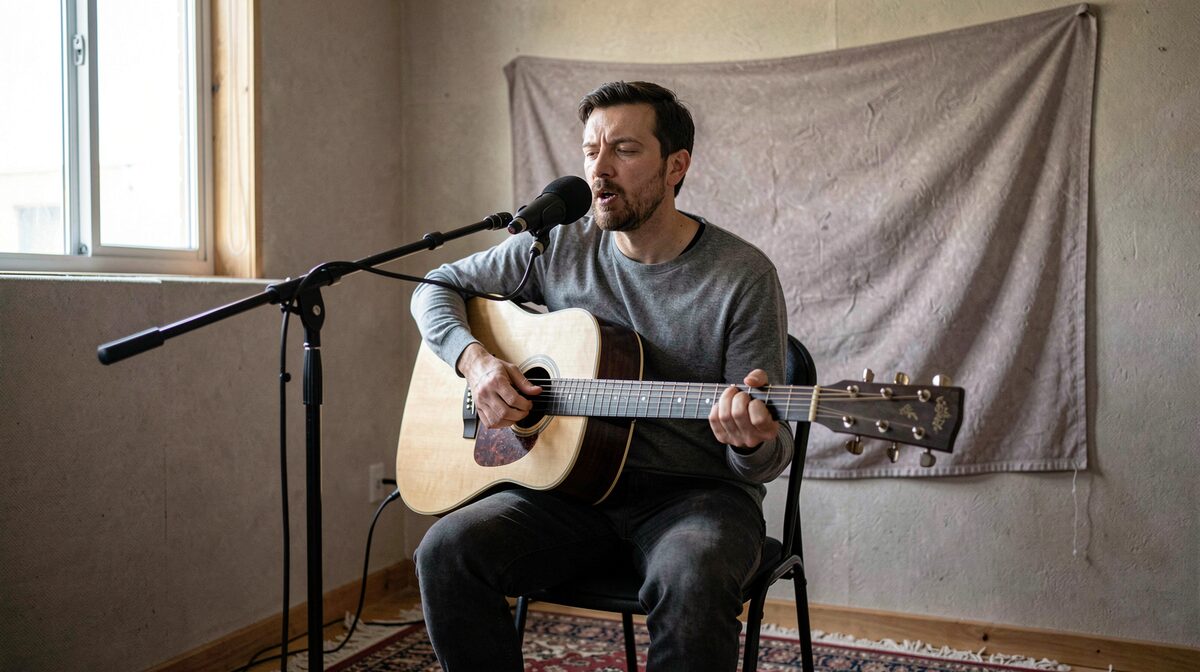 SO-002 · Sound & sessionsFirst Pair of Mics: Voice and Instrument
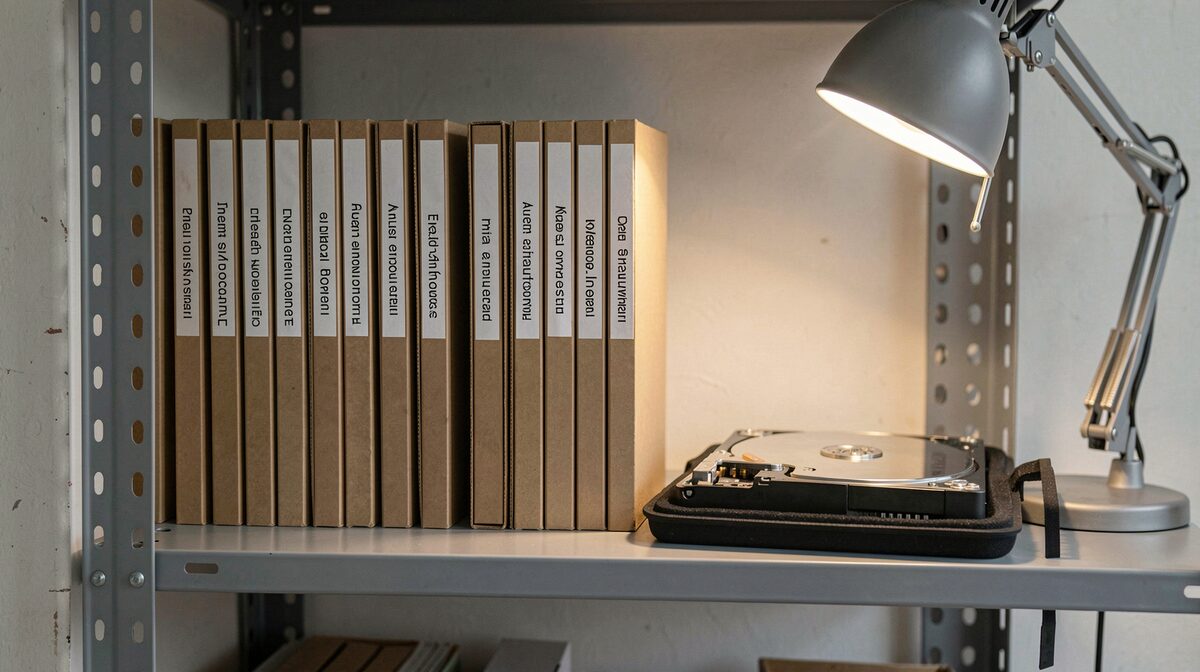 CR-001 · Craft & notesStore Negatives, Drives and Masters for a Move


